TL; DR
Built an absolutely killer-idea-of-a-guitar-pedal to micro-tune guitar pickup frequencies (e.g. re-voicing), with full inspiration and credit to Waylon McPherson Guitar, Pedal and Amplification.
This pedal is just an absolute must for a tone dialer-or-chaser enthusiast, read on!
Back Story
I was out perusing the internet-at-large to find some audio comparison (A/B) of competing Jupiter capacitors to use in modifications of my Fender Blues Junior, specifically the tone stack.
Surprisingly, I ended up finding what I was looking for to guide my final capacitor choice. However, that's not what this is about...
Thanks largely to the "Youtube Algorithm Overlords" (that I try very hard not to be persuaded by for content decisions in my life), I was recommended a similar video of capacitor comparison using (albeit, guitar tone stacks) from Waylon McPherson Guitar.
What I ended up getting completely sucked into? The Waylon McPherson Universe of Holy-Shit-Cool.
The real attention grabber right out of the gates, for me, is the McPherson Green Gizmo™, which is the foundation for this post to begin with!
Why The Excitement, Man?
Without endless pontification, just watching this dude, his demeanor, charismatic attitude and nuance-passion of macro-level tone and circuit tuning details, not to mention the fact of "freely" showcasing and sharing his knowledge, experience and ideas for all of us to gain from --- that's some rare air in these times of "influencers".
When I started playing guitar dog years (x3) ago, the technical side of me wanted to tear the guitar down to see how how it was wired, using what electronics knowledge (I had at the time) to try and point-to-point solder some entry-level Anderton-like "fuzz" pedal together to various low-bar amp build, conversion and modifications --- which are all things (and more) I did personally accomplish, but largely over time shelved (with restraint for once) to binaurally focus on "just playing" to limit any distraction. Everything else past that decision point was just a pay-for-it sculpt of the craft and tone; from guitars, pickups, amps, pedals, etc.
What I found out was: I missed it and it was definitely the kick-out-of-the-nest I suppose I needed!
It feels really good to finally circle back and have something like this "tool" pedal (like the Green Gizmo) as a leap back into the thick of it.
The Build
What else is there left to do? Let's get on with this build!
Schematic
From a support-and-give-back perspective, purchase it.
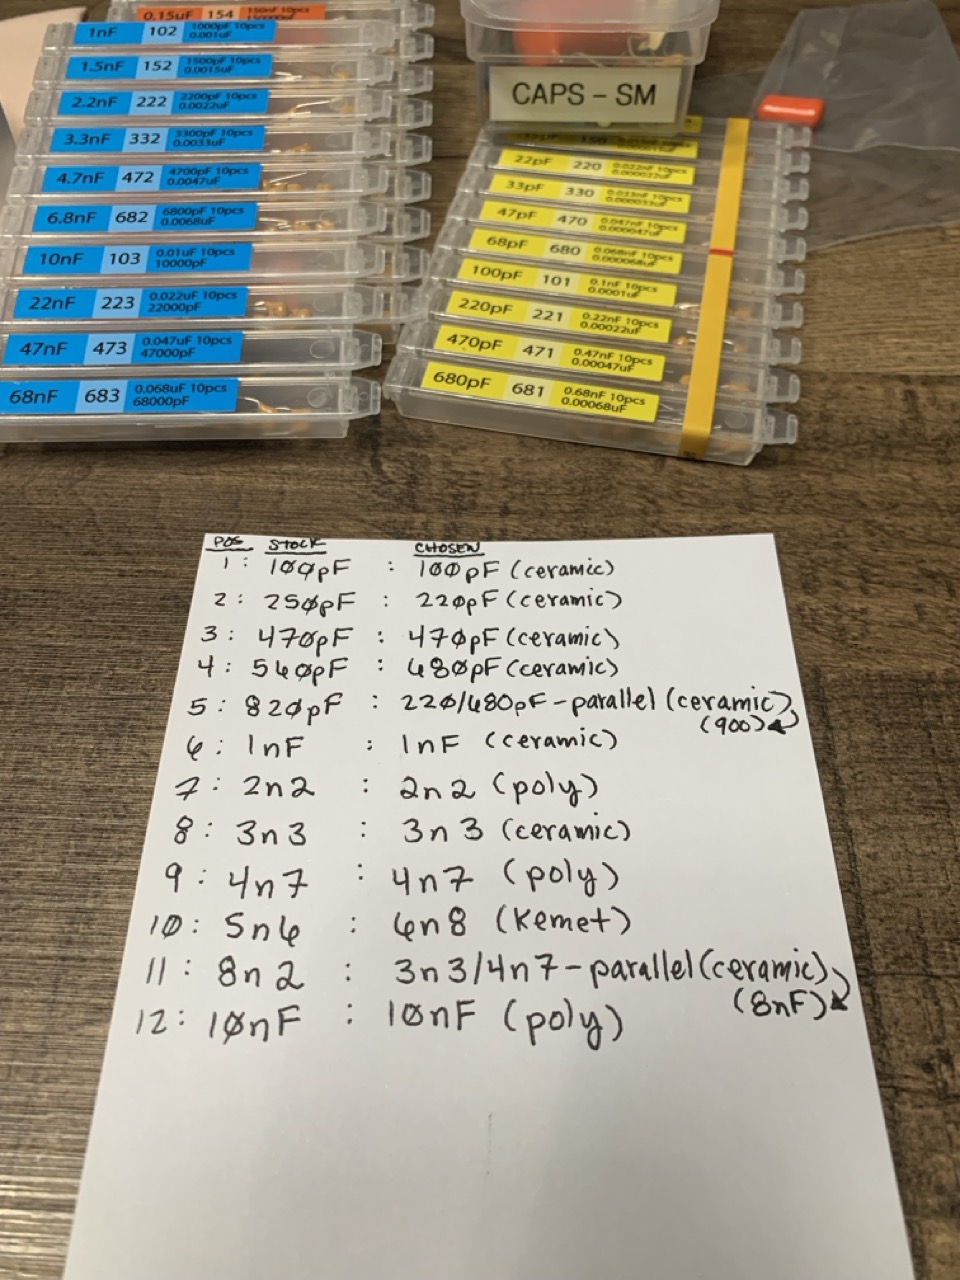
If that's not of interest: Using any of the Wayon McPherson's YouTube resources or pictures on this post would get you more than "across the finish line" to figure it out on your own with some thought and intuitive guess-work (mostly the twelve capacitor value range(s) are quite linear).
Parts & Sourcing
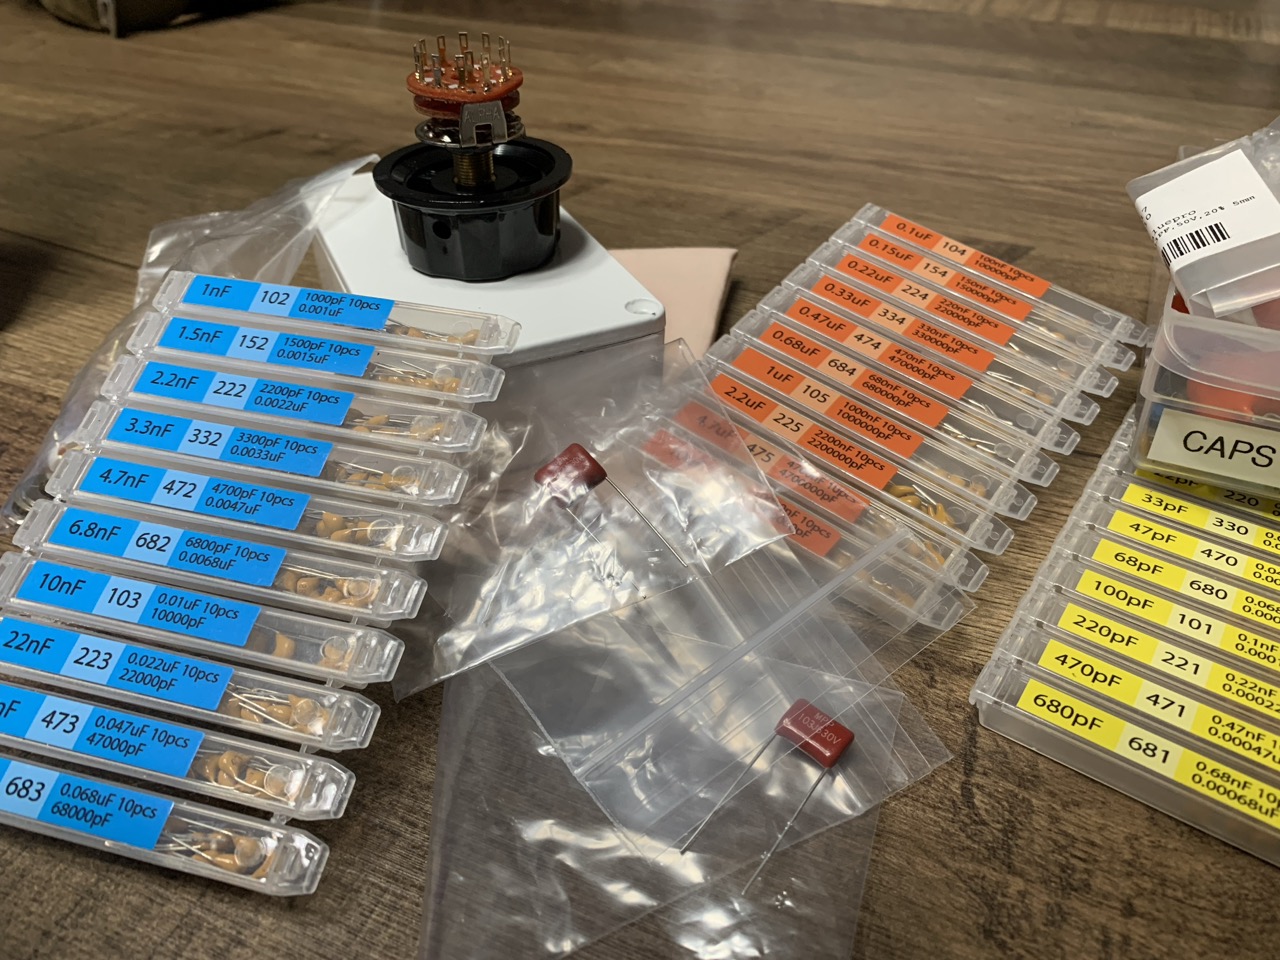
I sourced my audio components from:
My part(s) list below is just what I needed to order that I didn't already have on hand immediately for this project:
QTY    SKU                          Description
  1         P-H391                  Switch - Rotary, 1 Pole, 12 Positions, 1/4
  1         P-K374                  Knob - Black, White Line, Silver Top, Set Screw, Boss Style
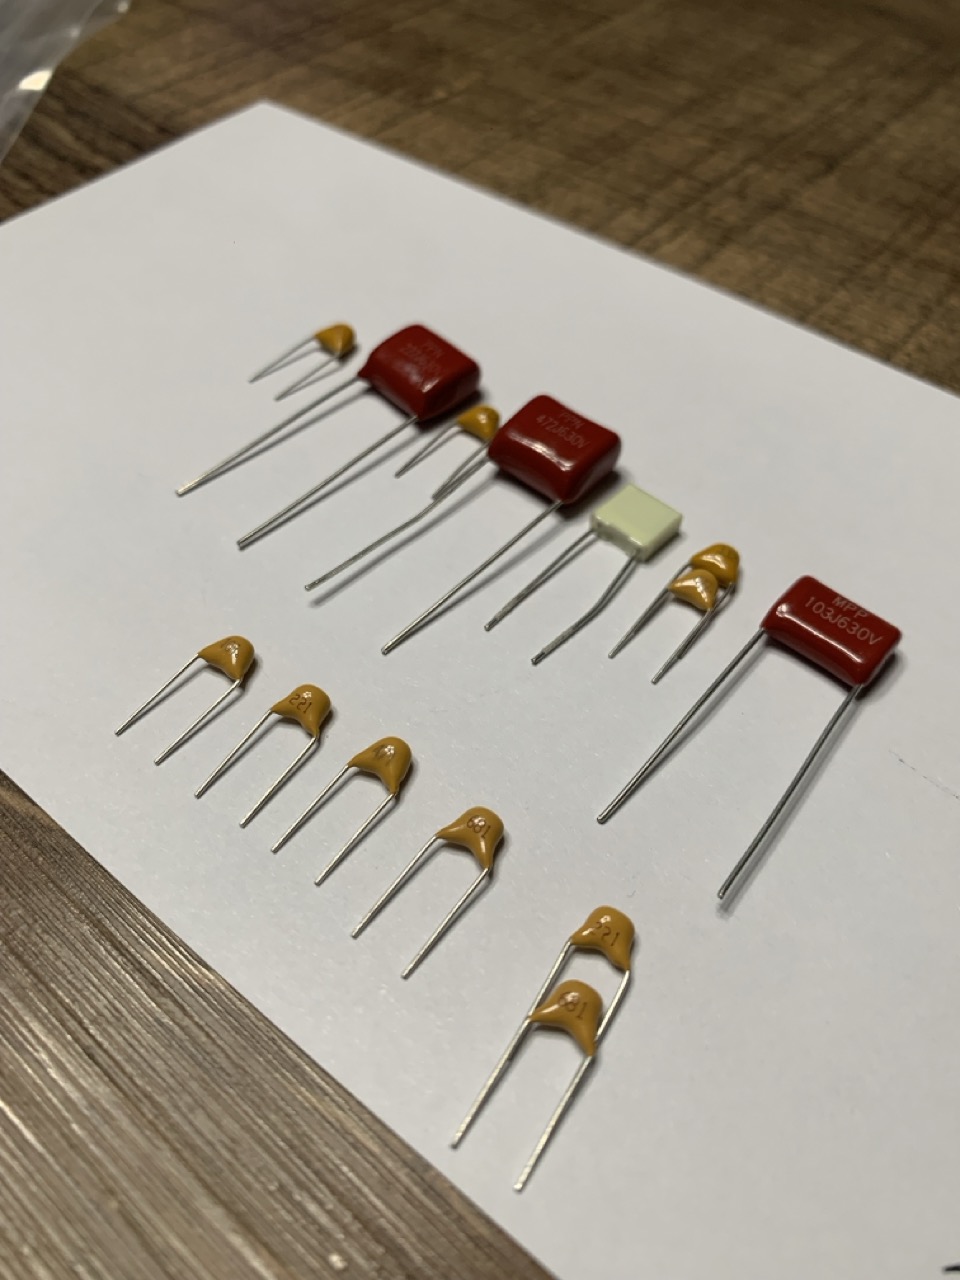
  1         C-LD0022-630    Capacitor - 630V, Polypropylene, radial leads, 0.0022uf
  1         C-LD0047-630    Capacitor - 630V, Polypropylene, radial leads, 0.0047uf
  1         C-LD01-630          Capacitor - 630V, Polypropylene, radial leads, 0.01uf
  1         C-R82-6N8           Capacitor - Kemet, R82 Series, Polyester, 6.8 nF
  1         P-H1590BCE-W    Chassis Box - 1590B, Diecast, 4.40, White
  2         W-SC-11                   1/4" Jack - Switchcraft, Mono, open circuit
You'll also need:
- (x) 20-22ga insulated wire (I use solid core, tinned), at least two colors (signal vs. ground)
- (1) SPDT, DPDT or 3PDT mini toggle switch
- (x) Capacitors (poly, ceramic, kemet, etc.) to linearly fill in the remaining 8 of the 12 rotary positions
If you're still lost or missing out on what's left for remaining capacitors? A few options:
- See the design section (below)
- Contact me directly; I'll be as articulate as I can with what I did, which is almost identical to Waylon's schematic
- Simply support and purchase the schematic for full capacitor range value(s), it's a mere $2 US.
Design & Layout
For the initial build, I deviated from the Green Gizmo by:
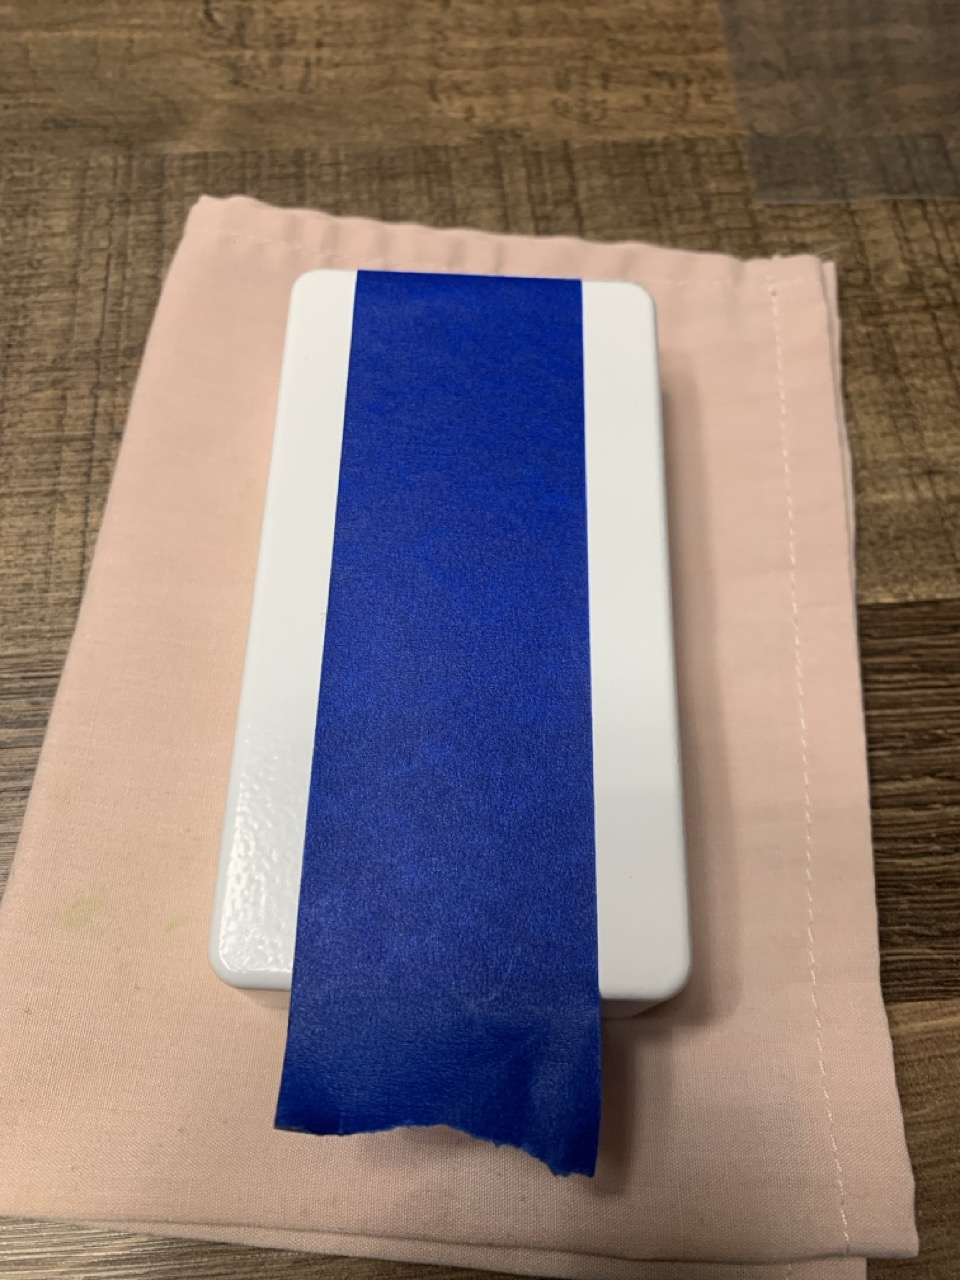
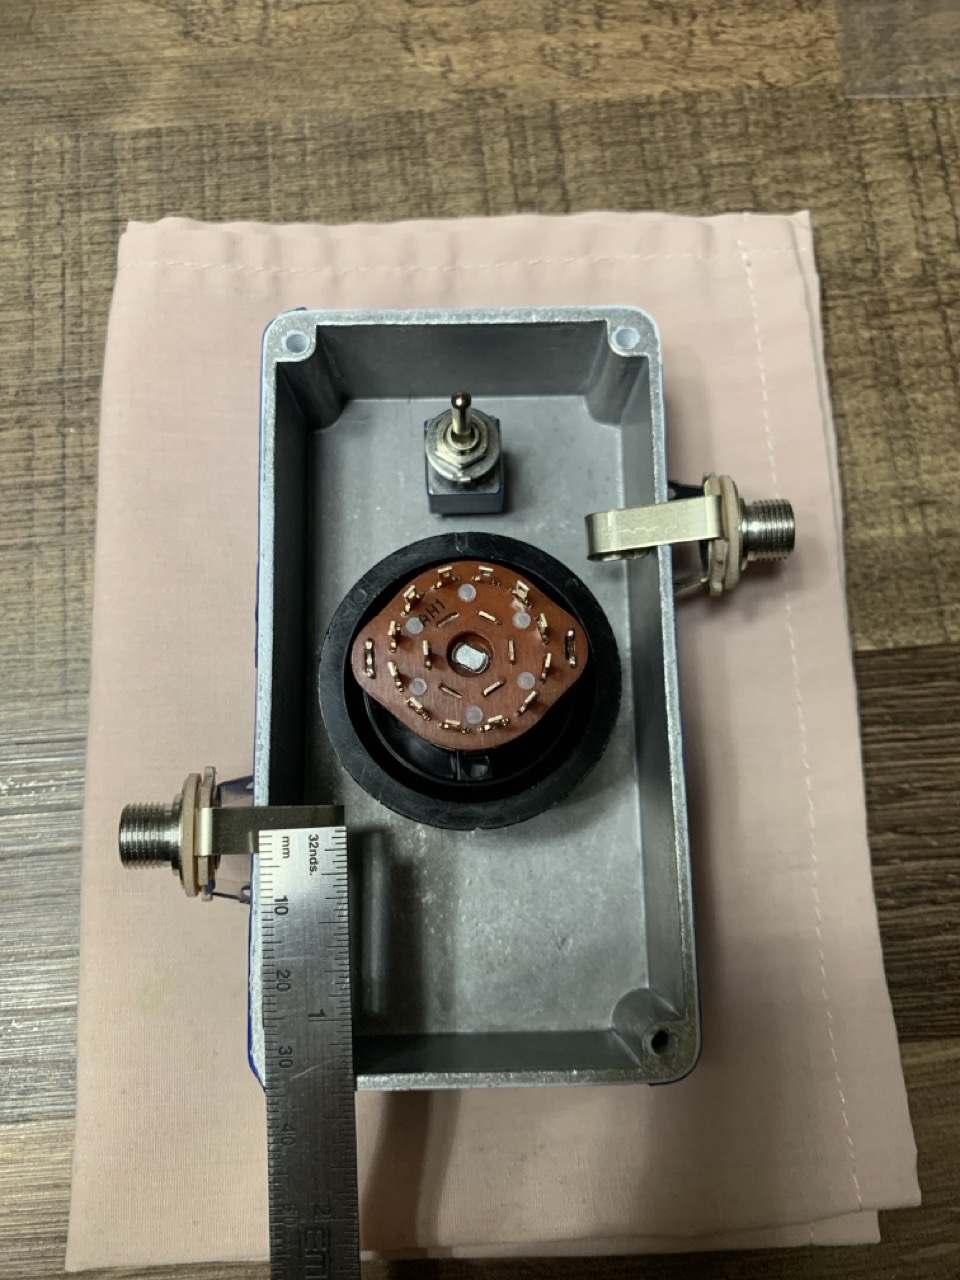
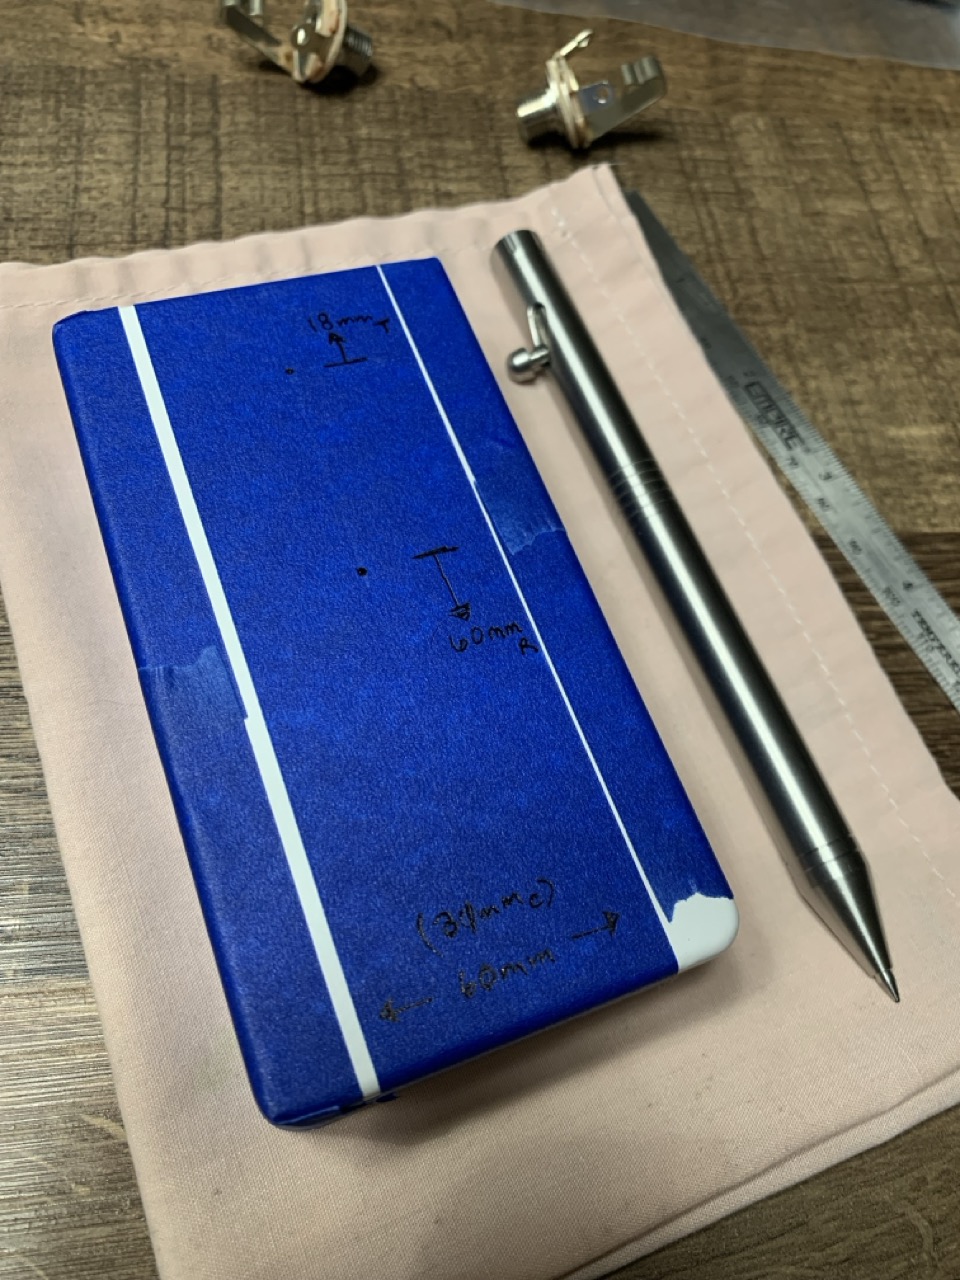
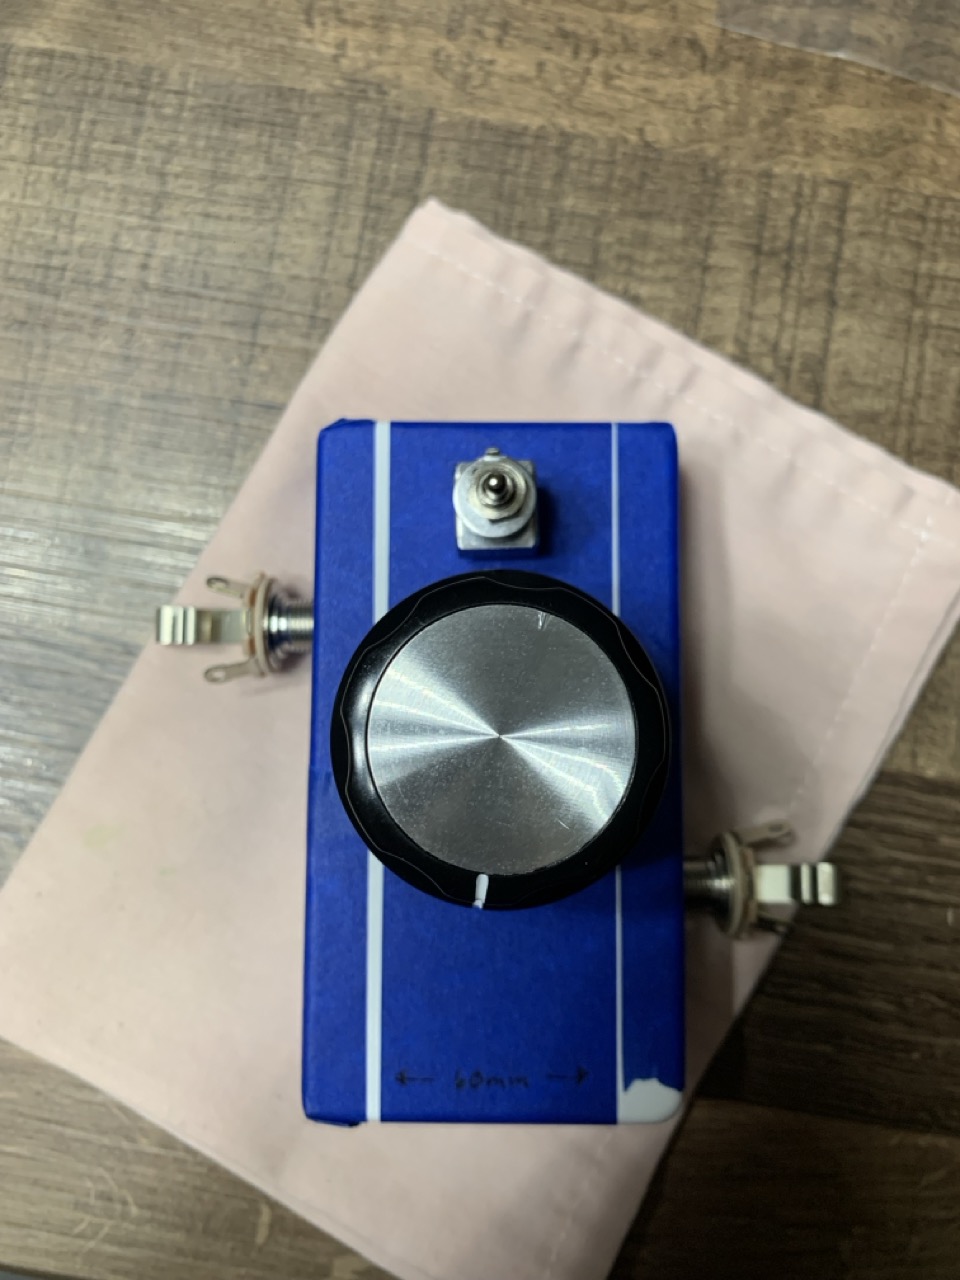
- Mounting input/output jacks left/right sides, stagger mounted vs. top side-by-side mounted
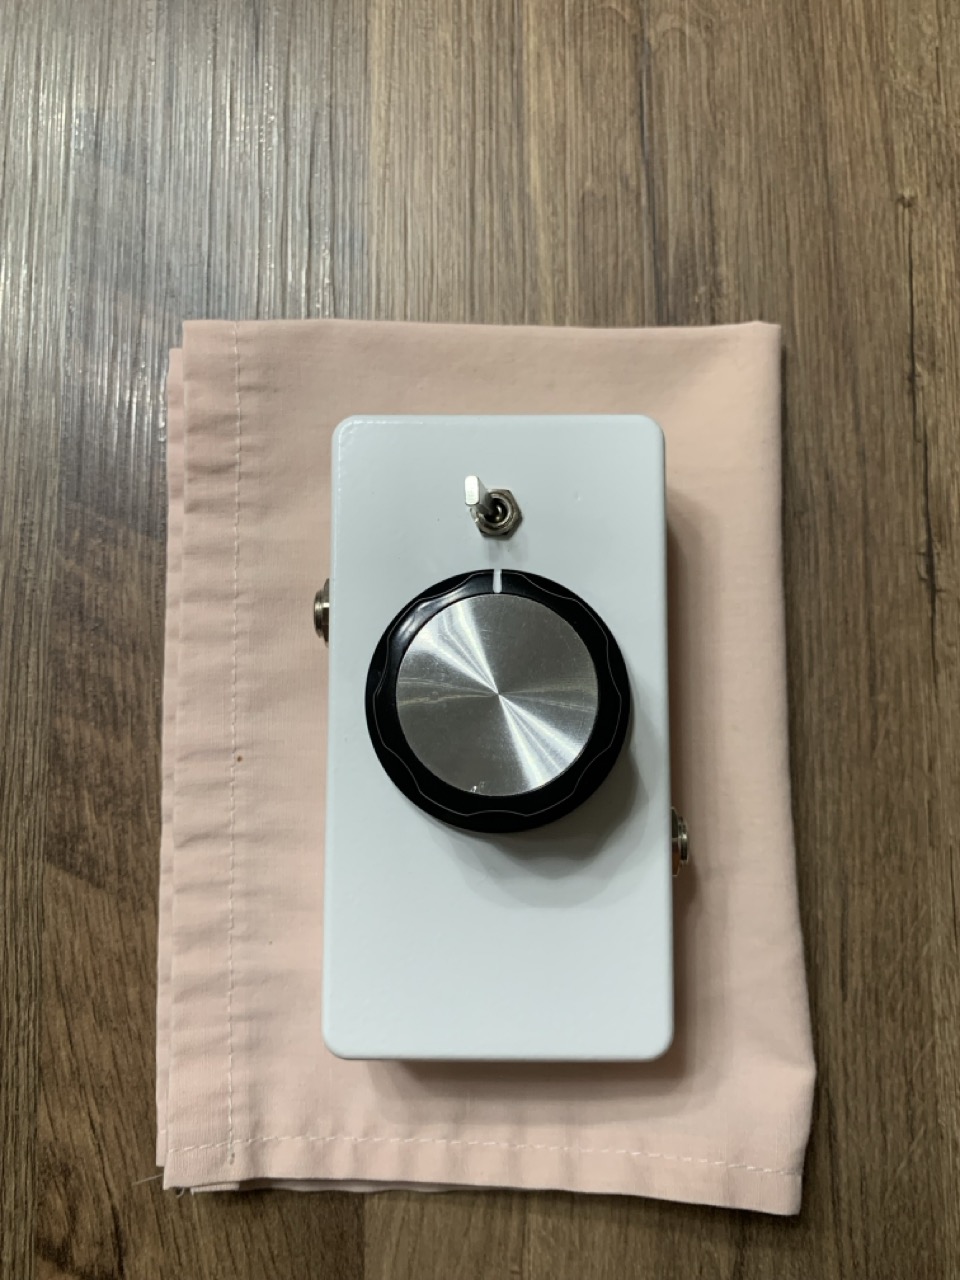
- Orientating the toggle switch for left-to-right vs. up-down (away-to)
- Went with a white 1590B enclosure vs green (source cost prohibitive)
|
|
|
|
|
|
|
|
|
Drilling
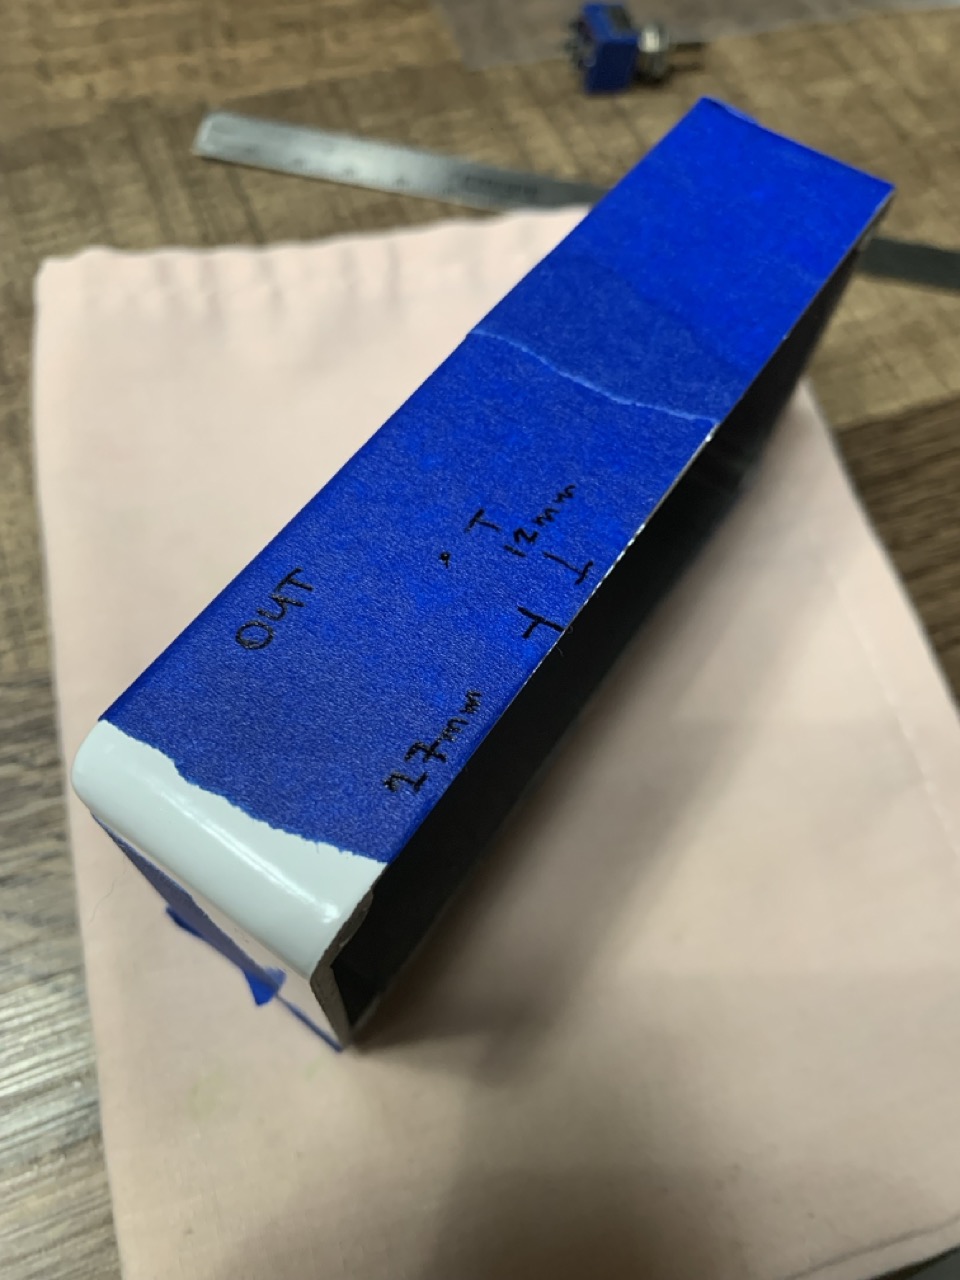
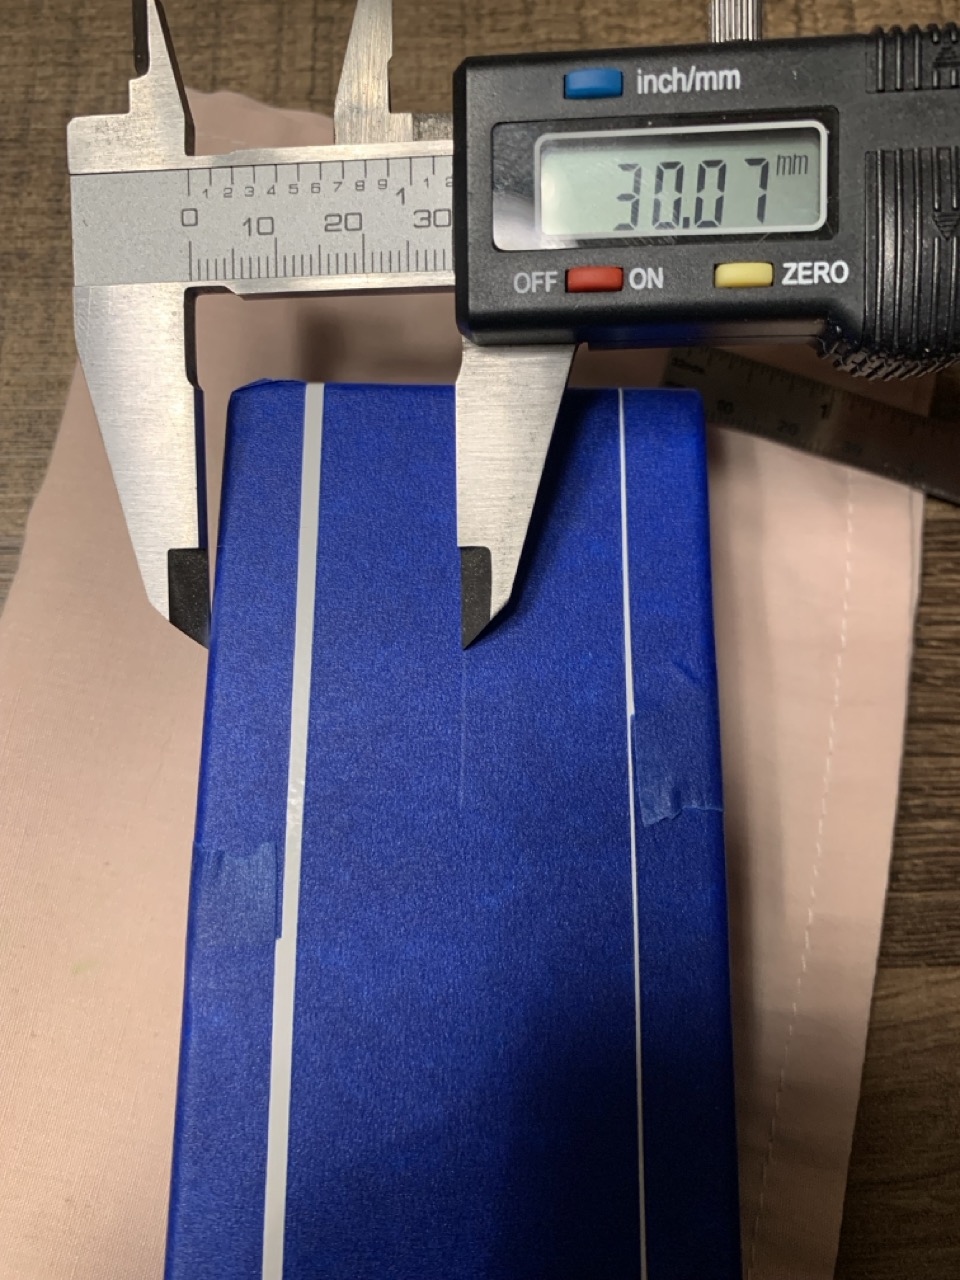
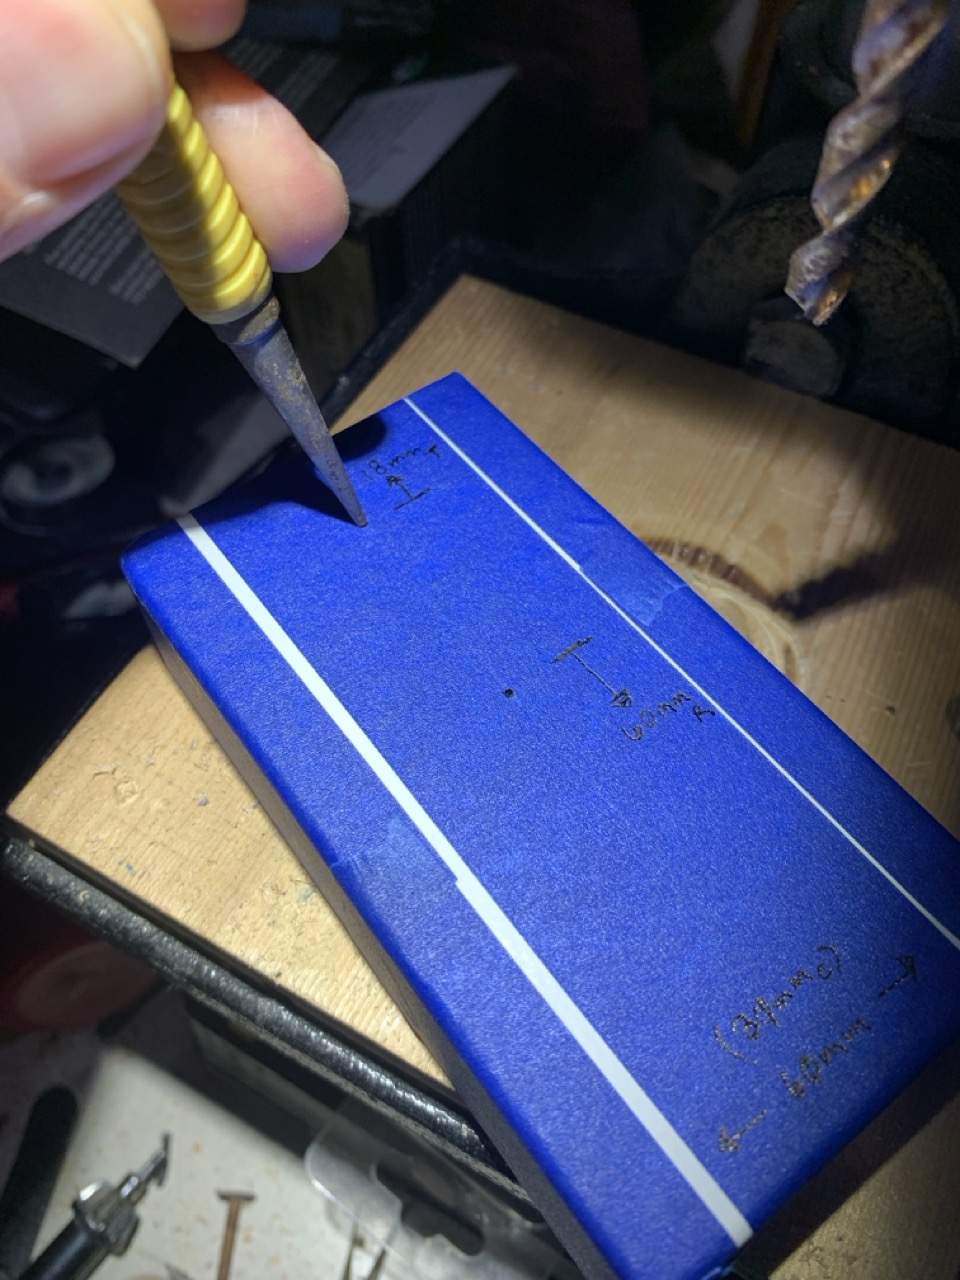
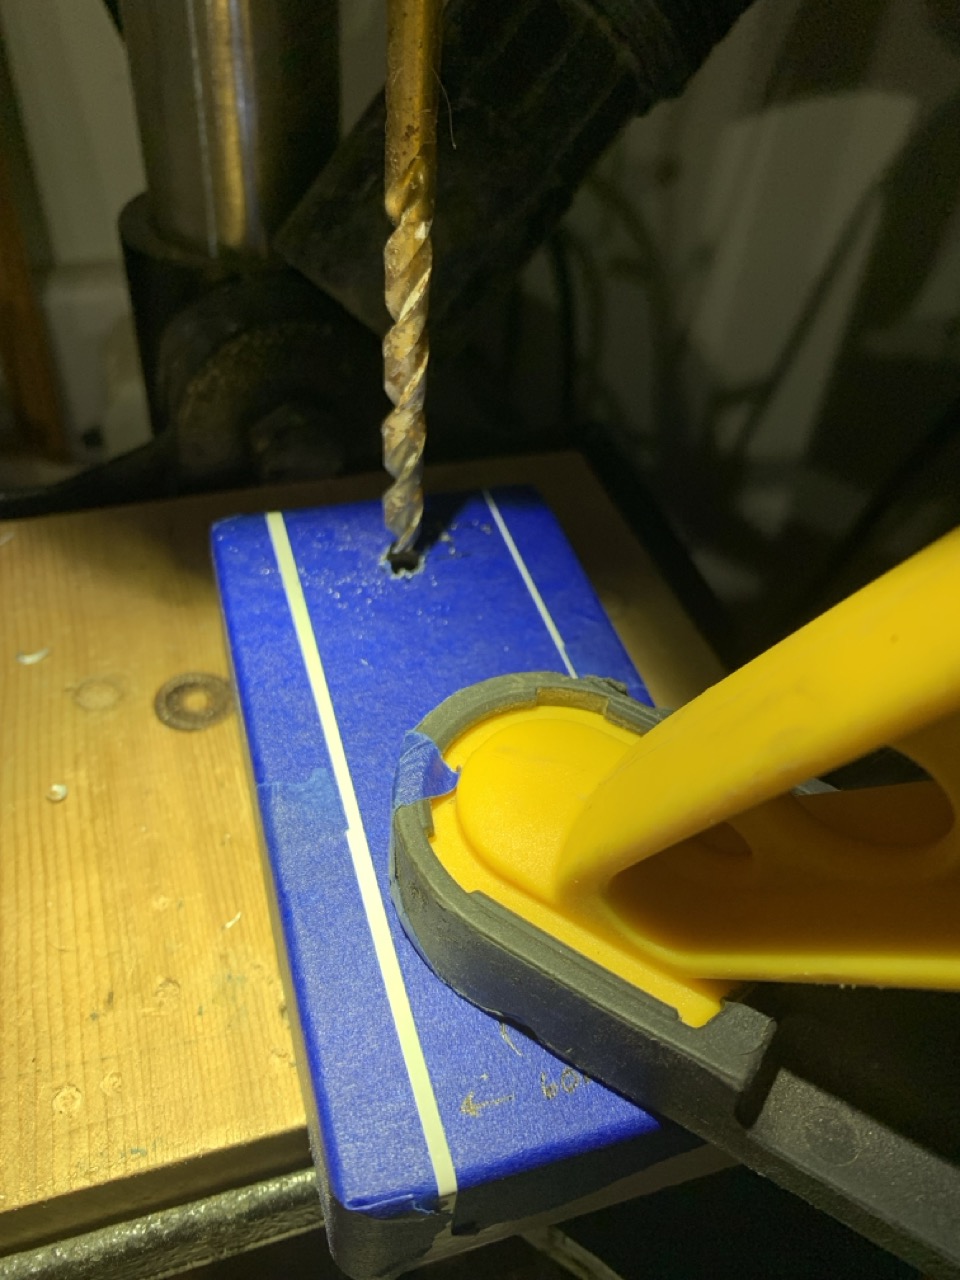
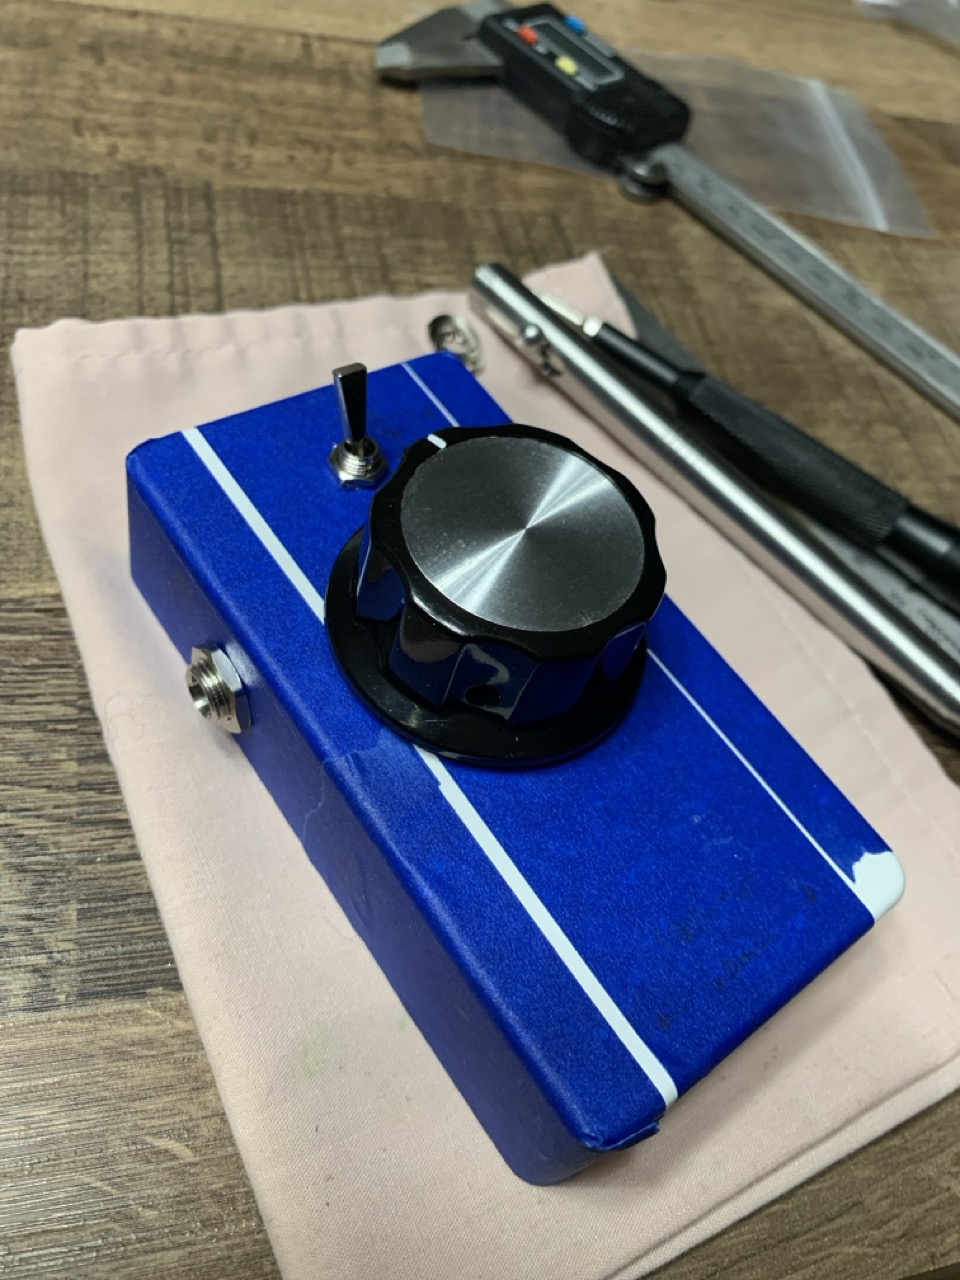
Drilling is self explanatory. Use a caliper or equivalent to obtain correct mm/inches conversion on parts you're using, depending on the type of measurements units your bits are:
|
|
|
Soldering
Now onto soldering. A few point(s) to mention:
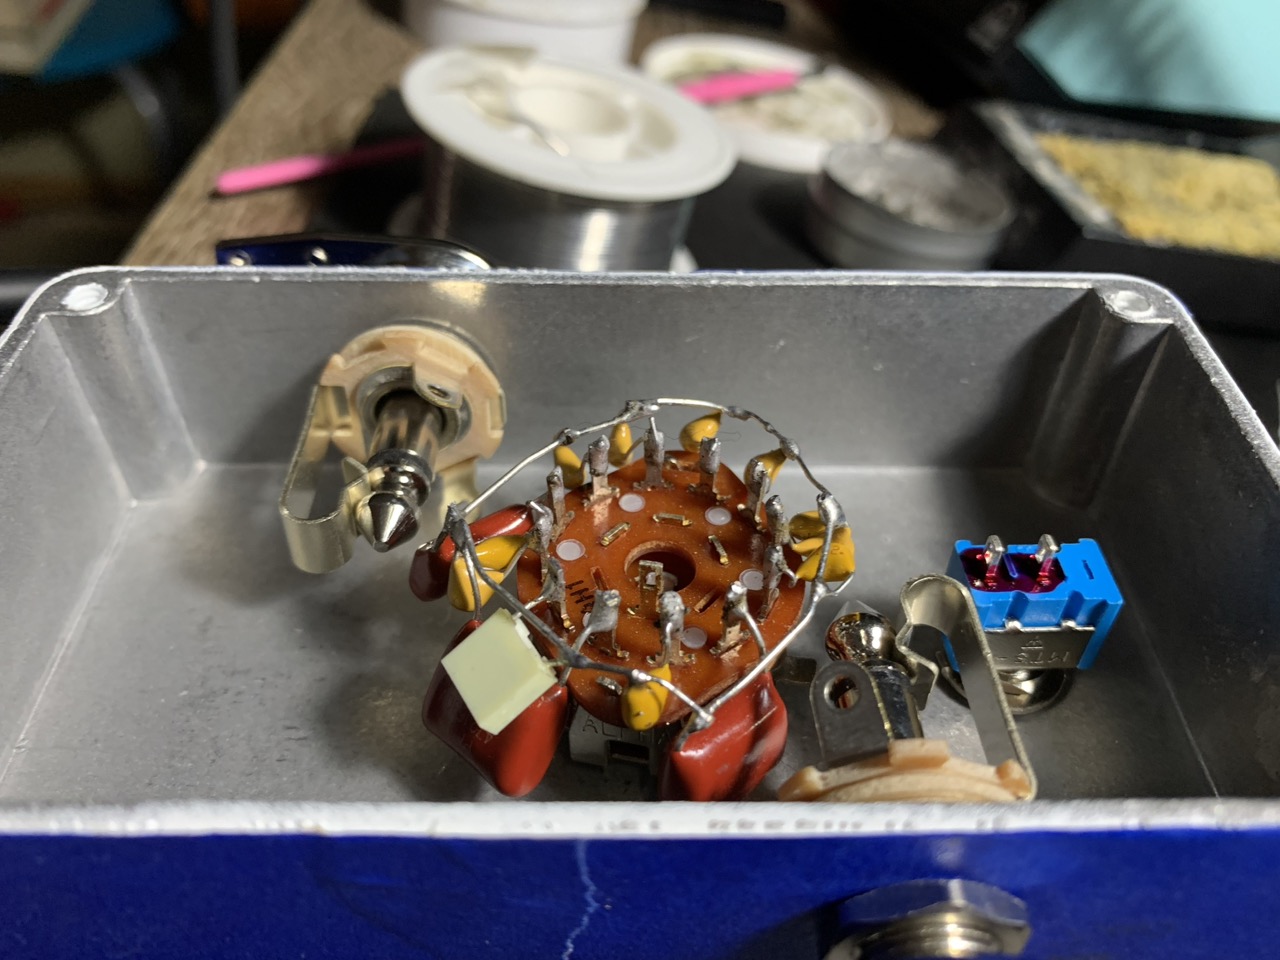
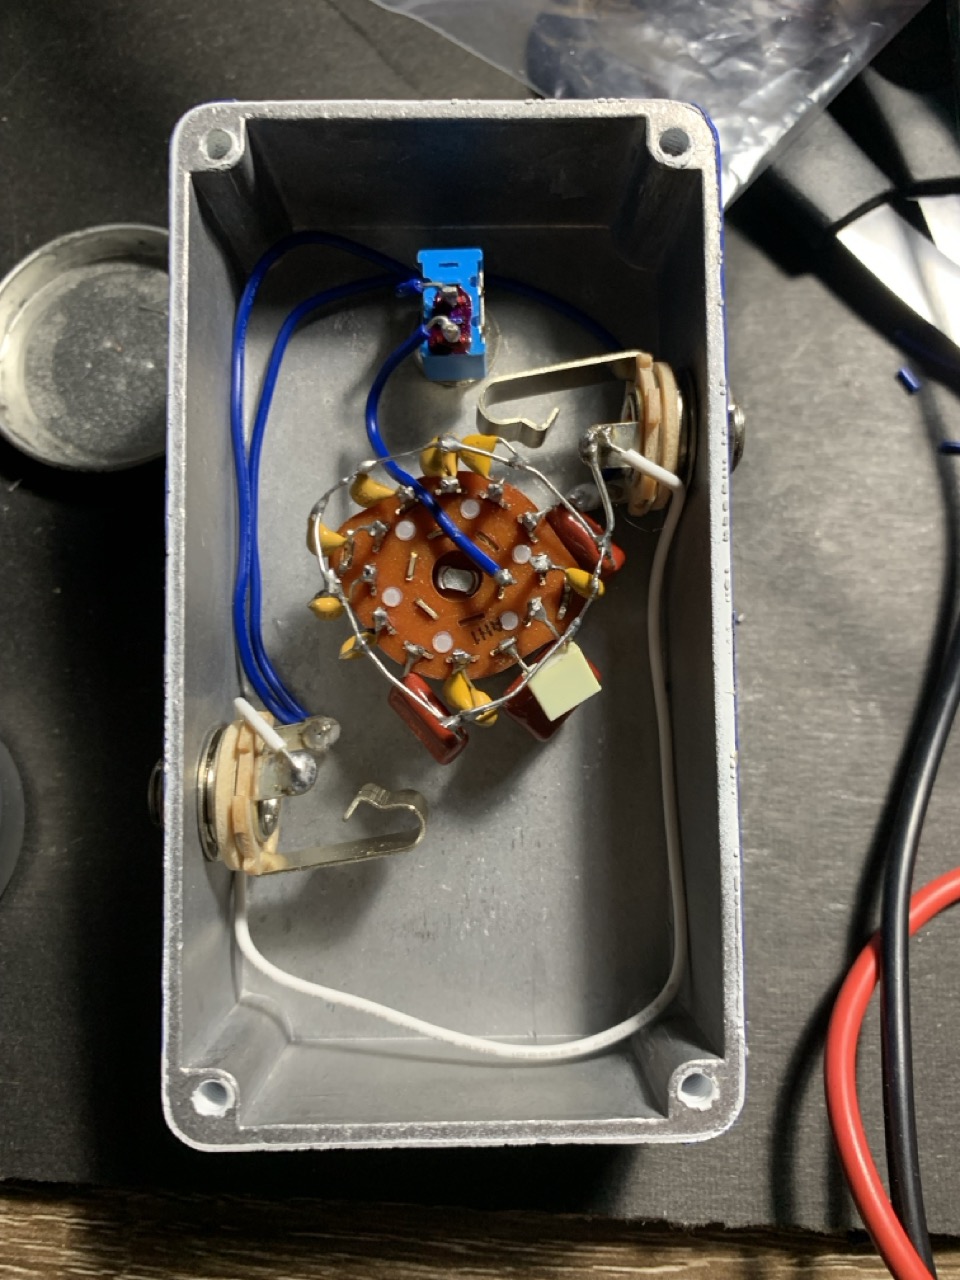
- Especially important when side-left-right mounting the input jack(s): orientate the rotary switch giving maximum room and clearance for the output jack when plugged in.
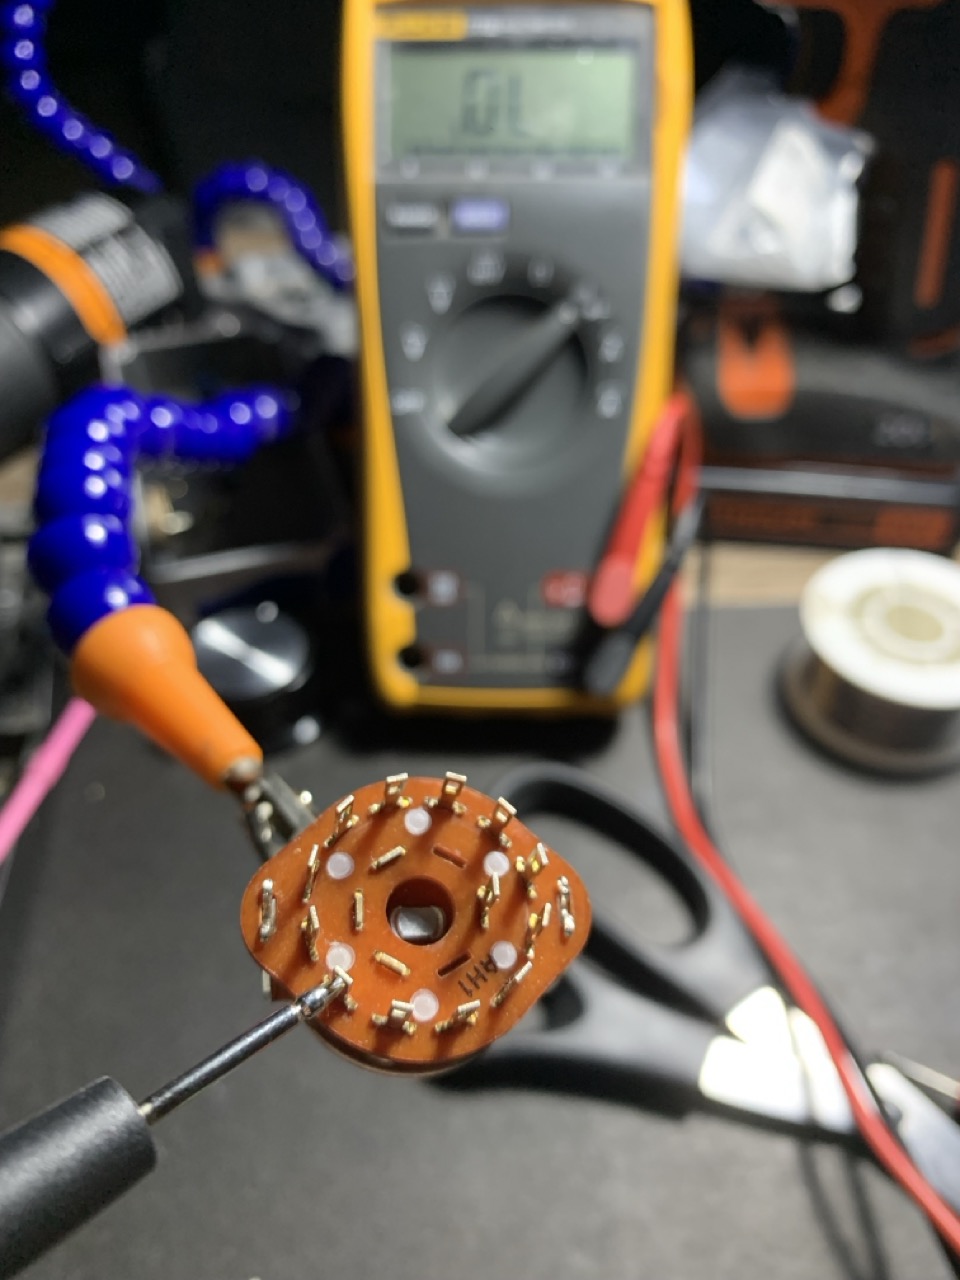
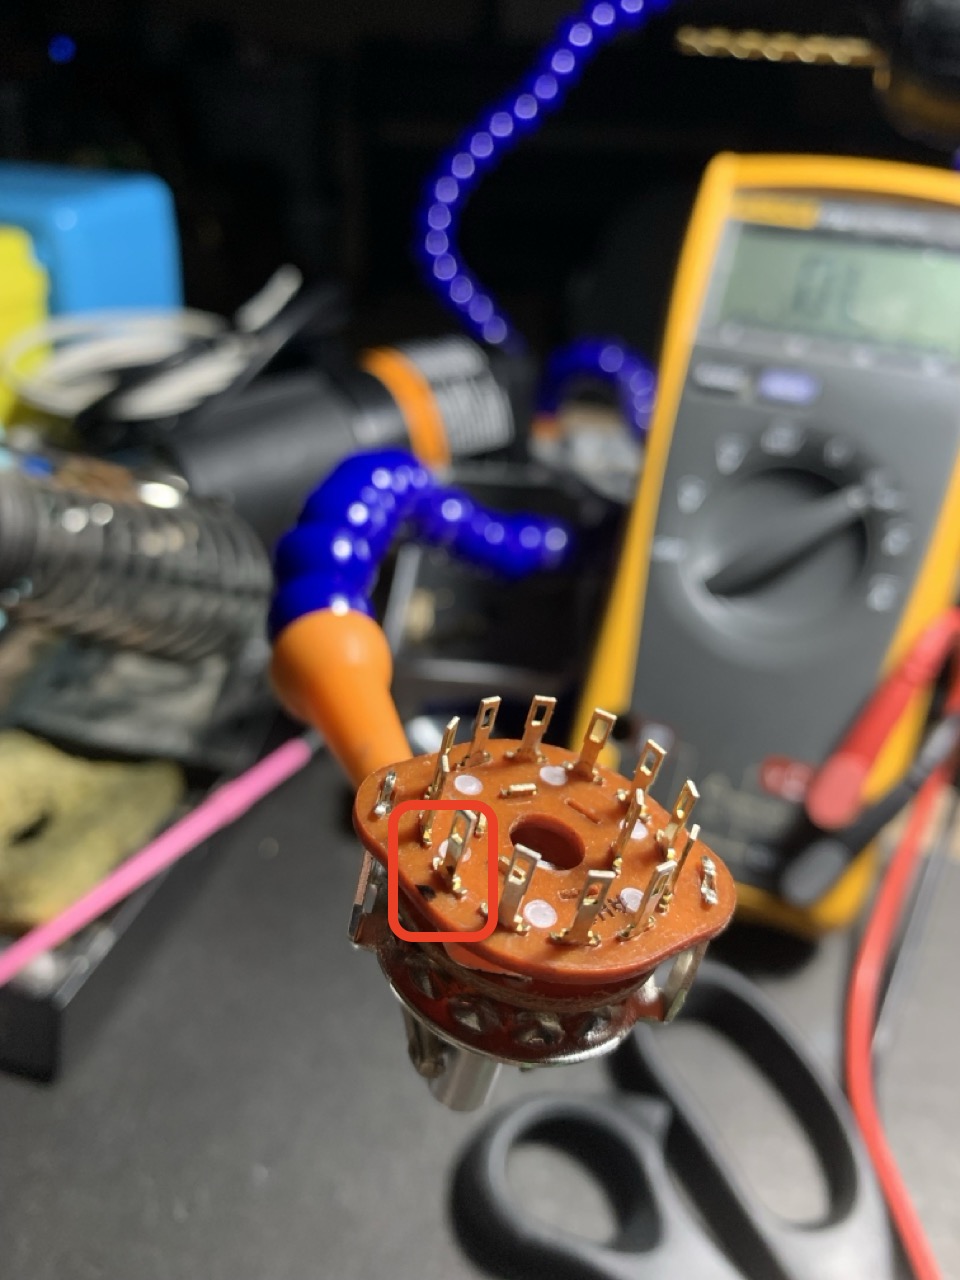
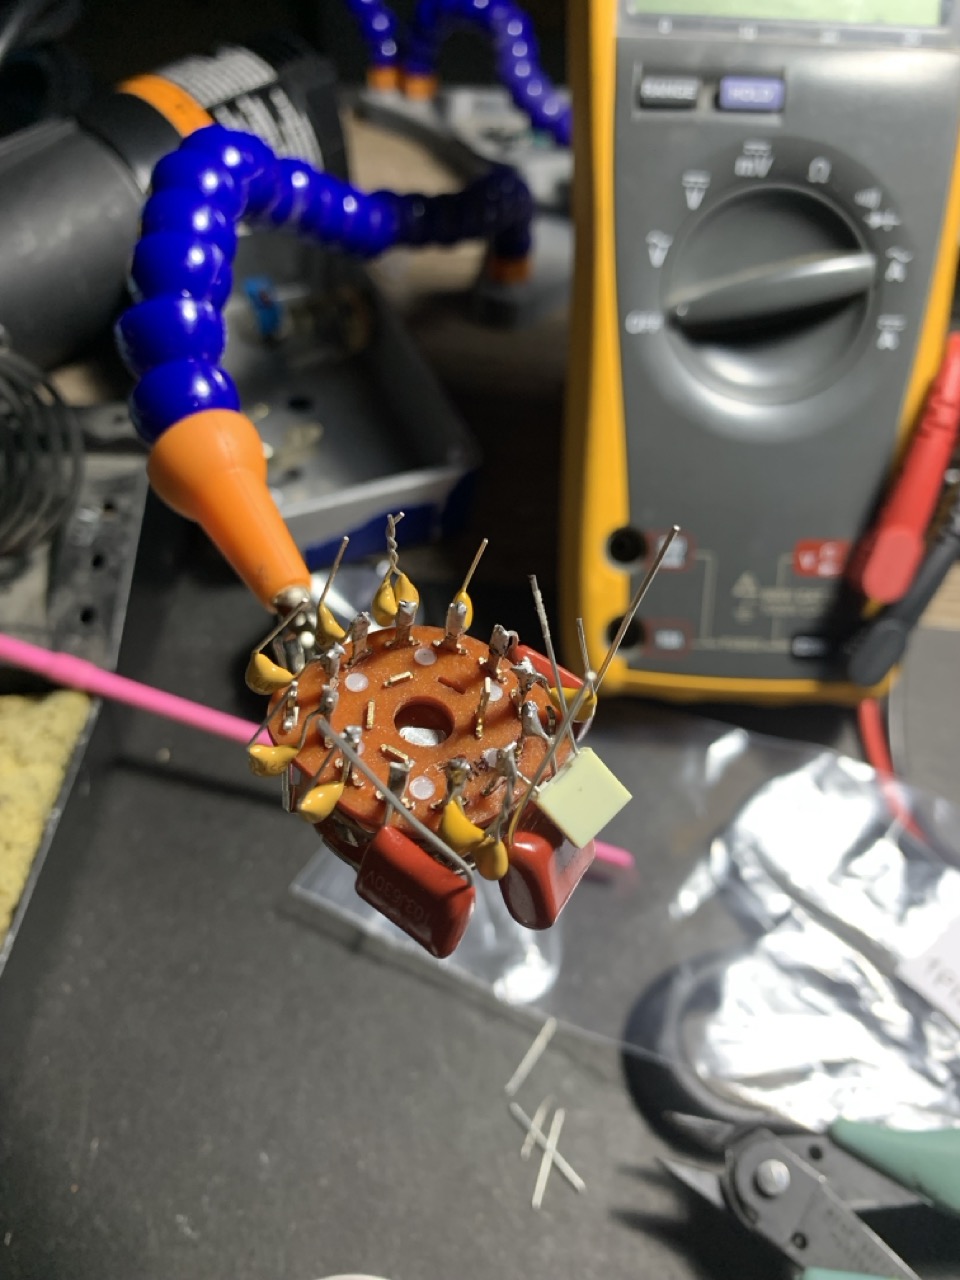
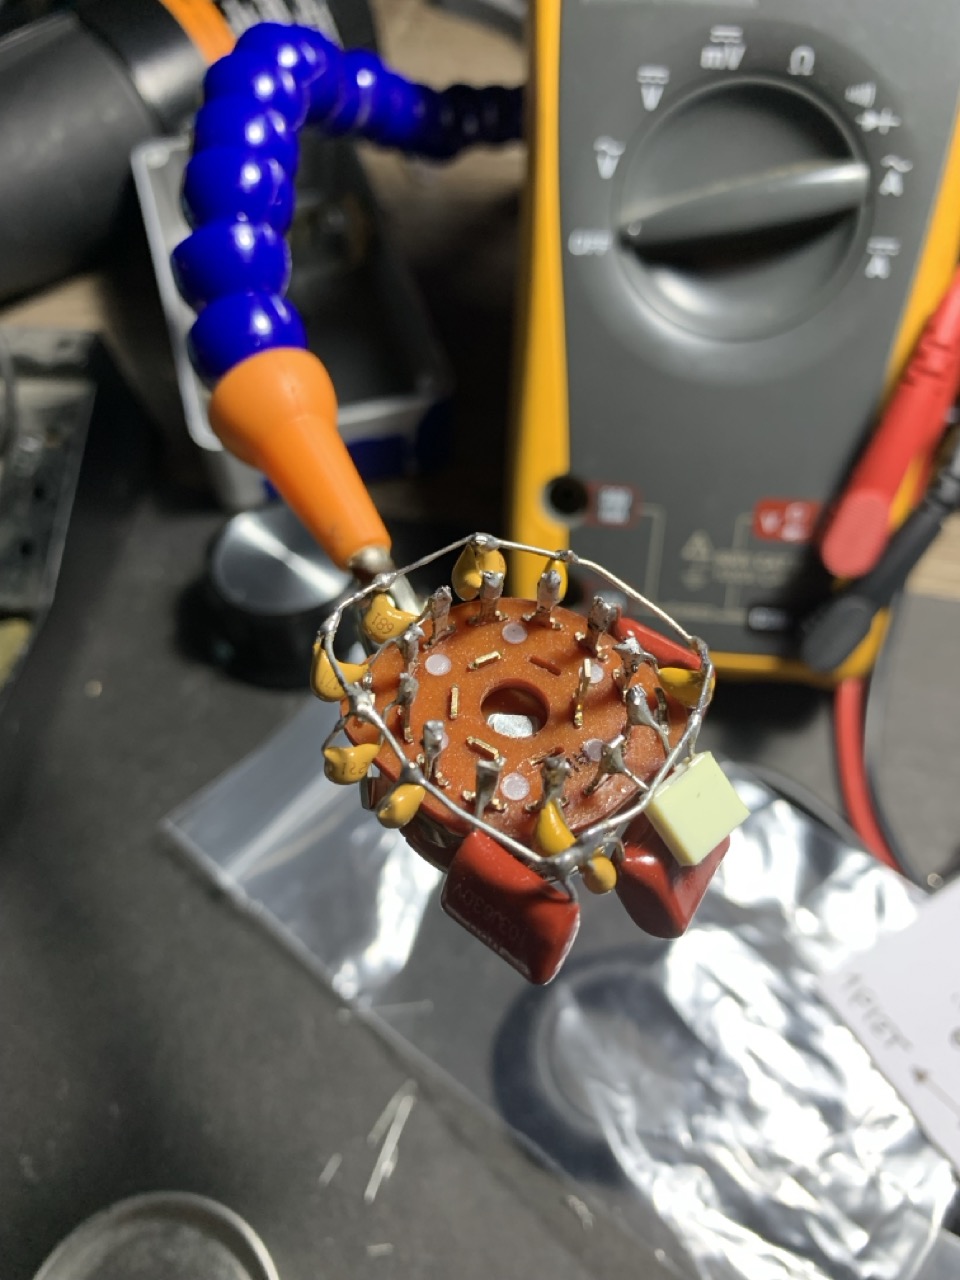
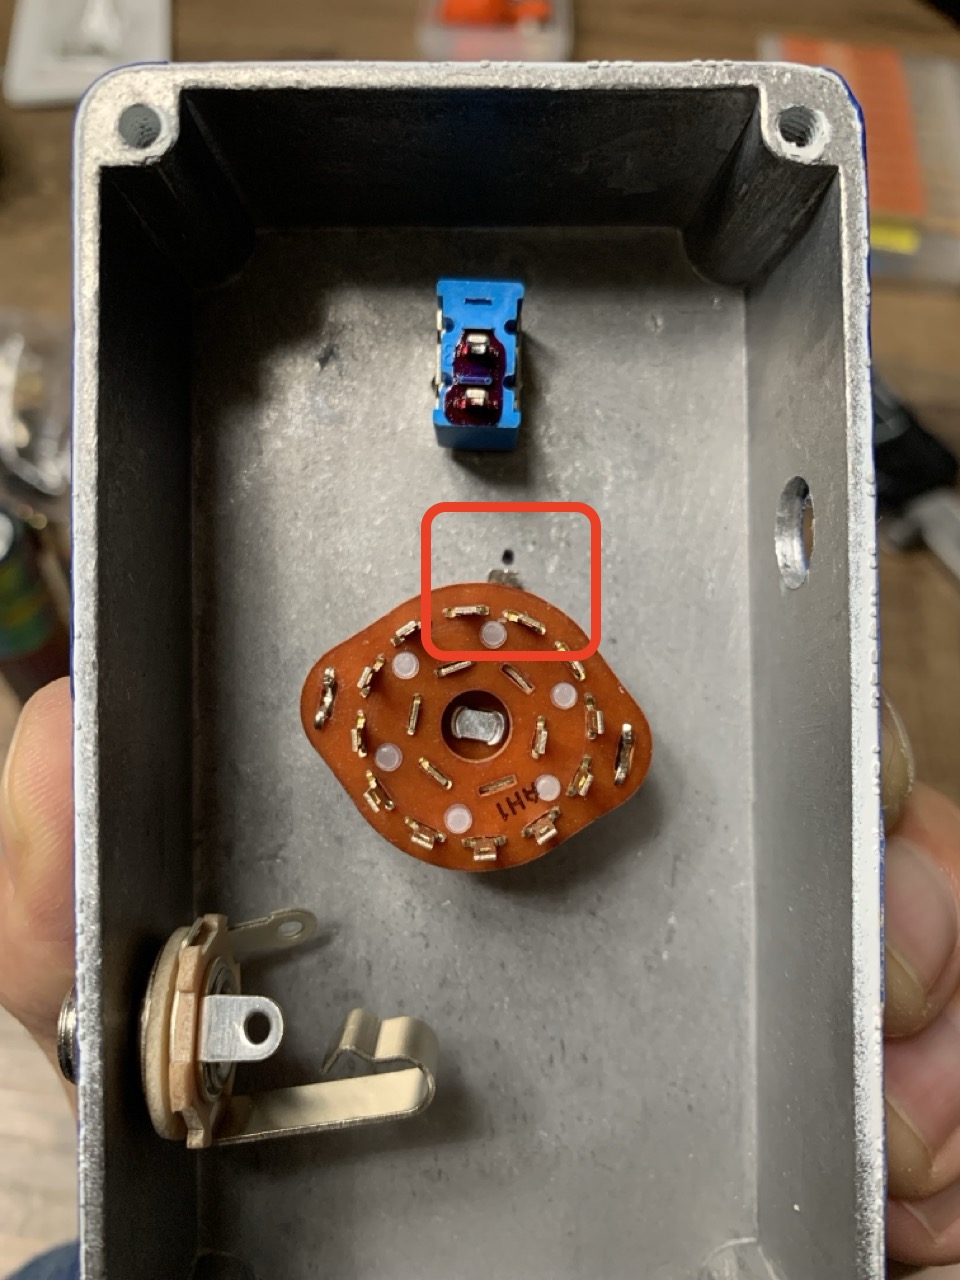
- Once you find your "orientation" and mounting preference on the inside of the pedal, use a continuity tester to identify which "position" lug will be your starting (lowest) capacitor point. Mark both with a Sharpie or some marker.
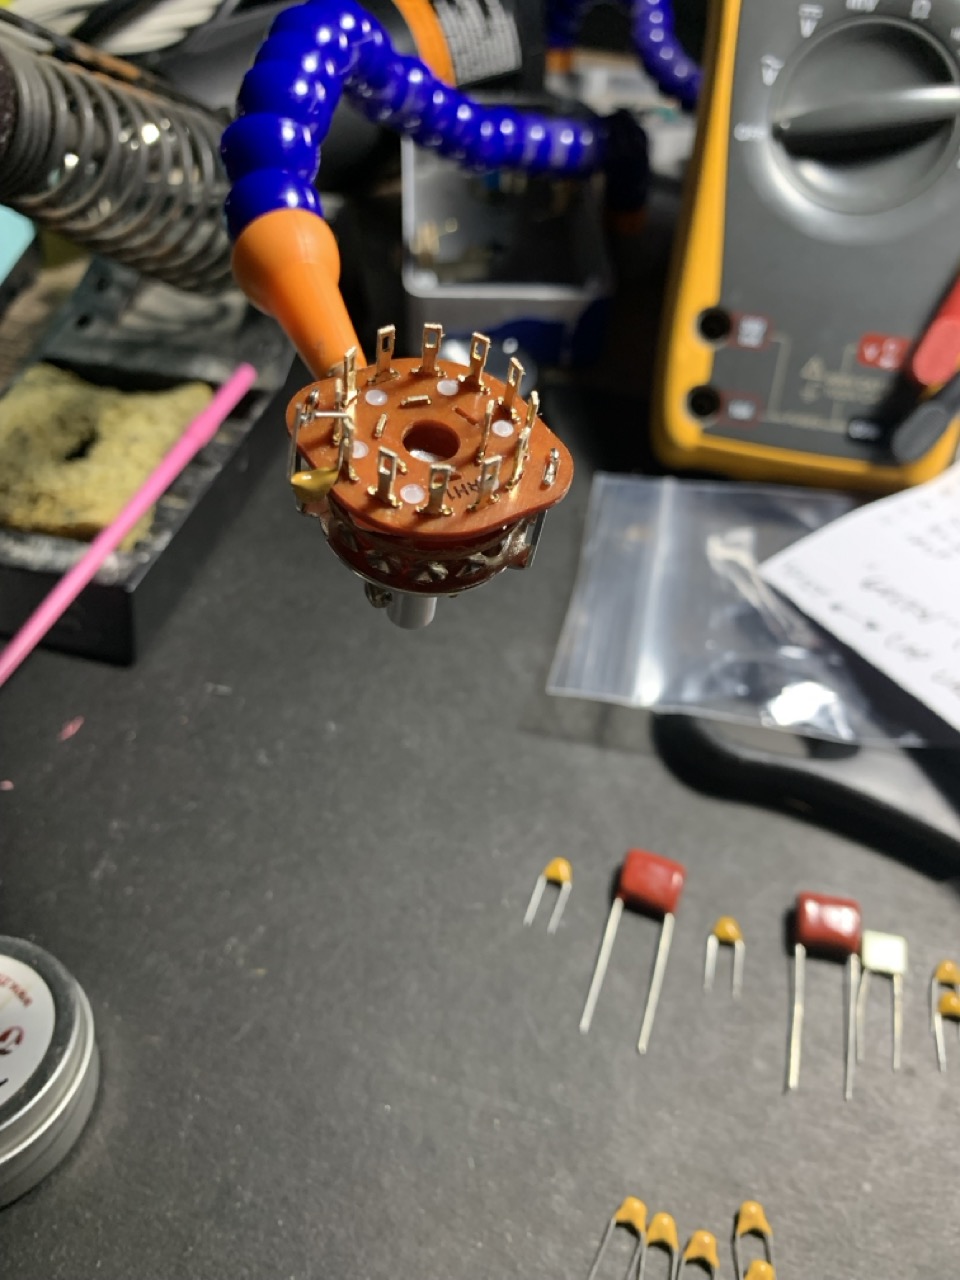
- If you want your pedal rotary dial to "increase" capacitance from your starting point as you turn it clockwise, solder each capacitor counter-clock-wise from the marked point. Conversely, if you want to "increase" capacitance from your starting point as you turn counter-clockwise, solder each capacitor clockwise from the marked point.
|
|
|
|
|
|
|
|
The Pedal
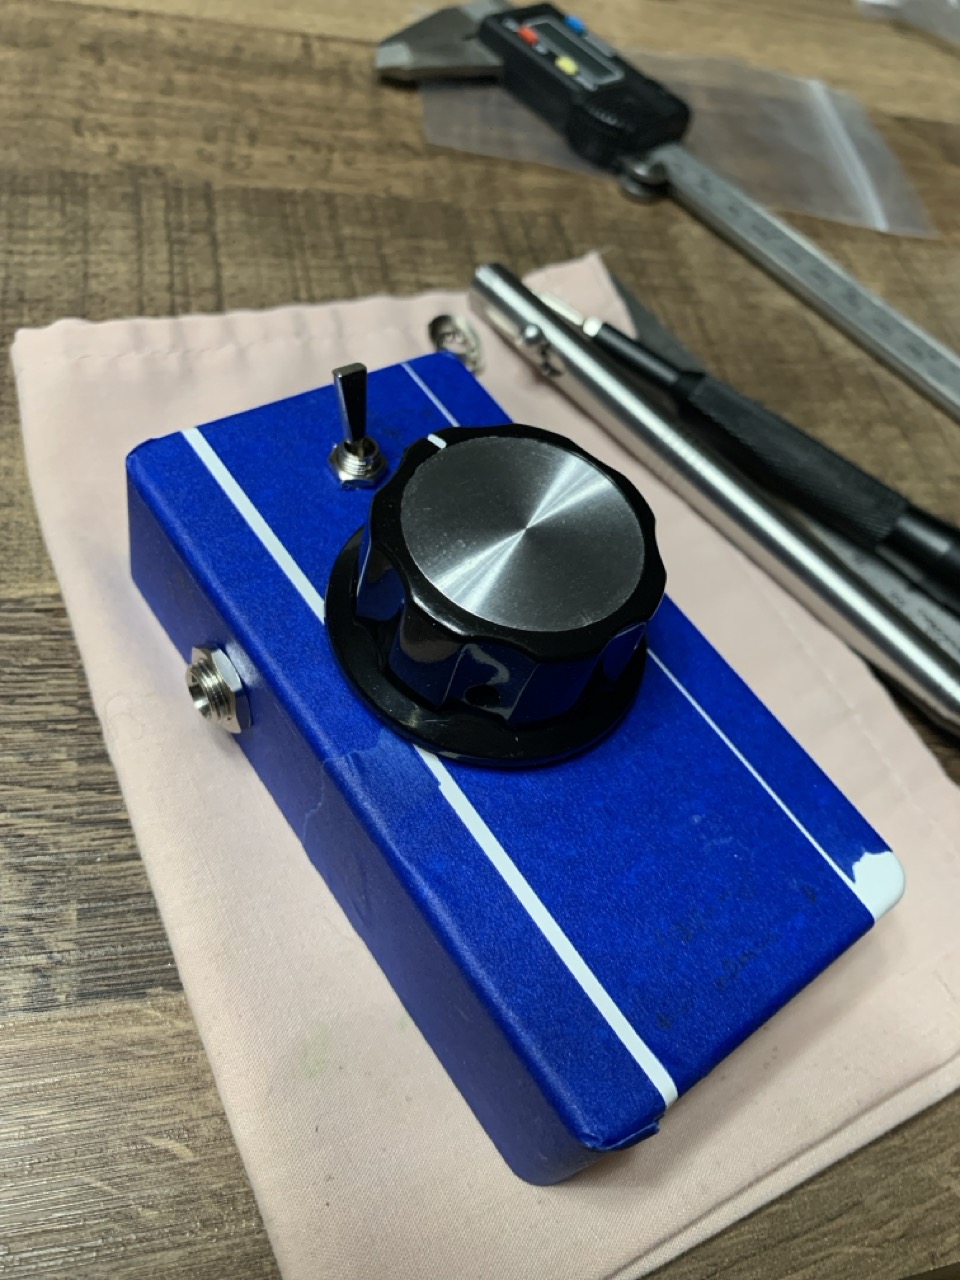
The final Green (White) Gizmo pedal completed, check it out:
Take-aways
Design-as-you-go tips
I am not perfect and I deviate. I mucked up a few things with my design-as-I-go pattern. To reiterate:
Measure 9,484,375 times, dry fit 4,575,338 times, drill once. Even being off by a few millimeters makes all the difference in placement, especially with the rotary knob and capacitor clearances in conjunction to the input jack preference I had. I got "super lucky" that I only had to bend a few caps at positions 5-6 to be good.
Identify soldering direction when adding capacitors onto the rotary. My pedal works, of course, but my goal was to rotate the knob "clockwise" (on the presentation side) to increase capacitance and have 12'o clock be the "start". Well it's the opposite; I rotate "counter-clockwise". Double check your thoughts before you commit to soldering 12 capacitors on like did!
Waylon gives really good measurements "tips" that I whole-sale poached, especially for the input jacks so it looks "pro". It's solid advice.
How does it sound?
Most (if not all) of my preliminary testing were on a clean, low-to-medium breakup (clean) then a triple pedal overdrive setup (drive-boost-compressor).
I found this to be a fabulous way to "shape" the tone edge of your pickups, especially a lot of the single coil configuration guitar(s) I have for neck/middle. It really shined with shaping some of that "cold treble attack" bite you can get from some neck pickups and push it back into that really appealing "glassy" tone.
For humbuckers, I felt it added more body and "warmth" to the tone, albeit it's very subtle. I don't think I went past the 3rd or 4th capacitor value.